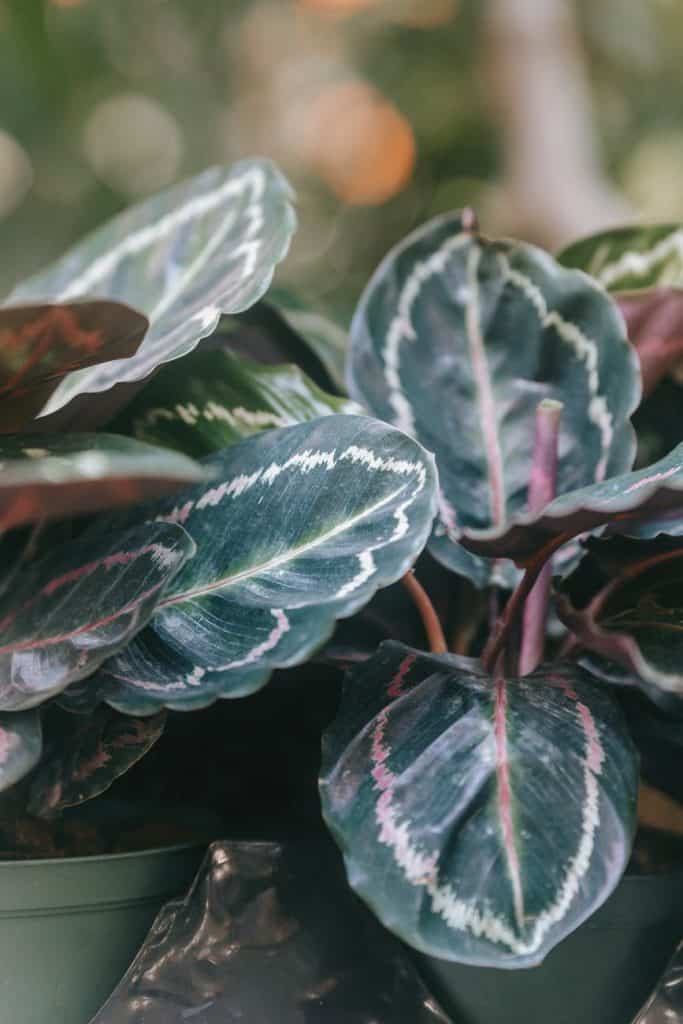
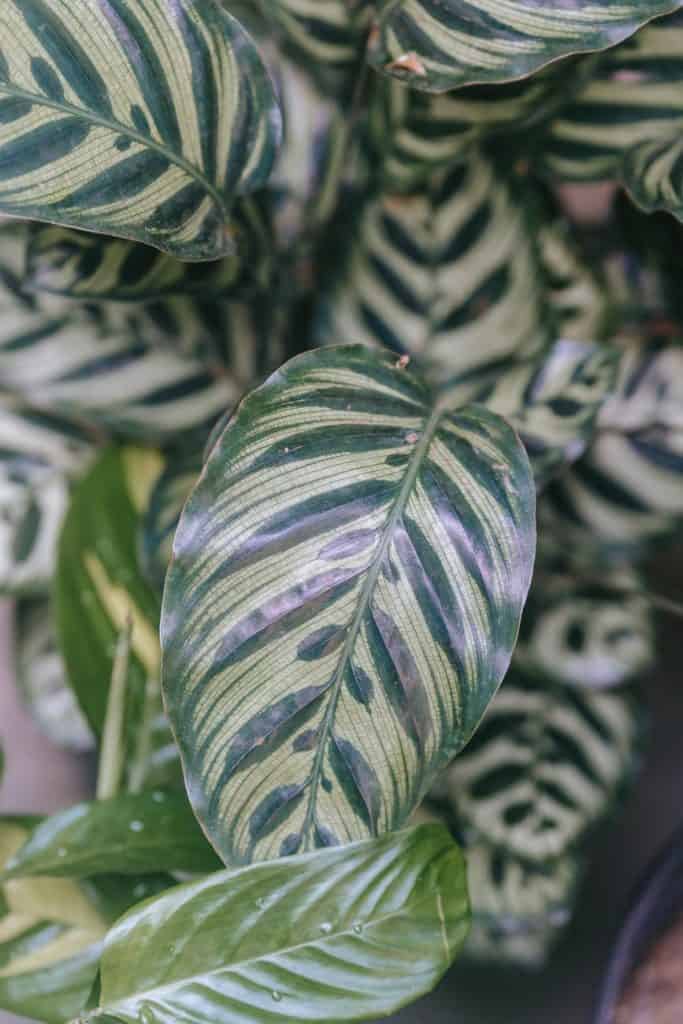
“I feel like I’m going mad,” said my friend, who was sitting in the garden with me. “Every time I go into the house and see this dead thing lying there…” he pointed at his ‘prayer’ plant, which had stopped producing flowers for months now. He was devastated by it… as well as the plants in the garden that were also not bearing any fruit or flower. It got so bad – one of our friends even decided to stop praying altogether!
The reasons why Prayer Plants fail are many and varied but they can often be traced back to a lack of proper care. The main reason is probably overwatering (which weakens roots) and over-feeding (causing excessive growth). This article will help you understand what causes these problems and then guide you through some simple remedies that could save your prayers from dying.
Causes Of Prayer Plant Death
Prayer plants may die due to a variety of factors such as poor light conditions, diseases, and insects, etc. But the most common cause of their death lies within themselves. They simply don’t have enough water/nutrients to keep them healthy.
This problem usually occurs when people start watering too much during the summer season. Waterlogged soil means less oxygen available for root system and thus inhibits its ability to absorb nutrients and minerals from the ground. As soon as the rain stops, water starts draining out of the pot and leaves the roots dry and parched. When moisture drains away, the roots lose all strength and vitality. In order to combat this condition, we must ensure that the roots receive a sufficient amount of hydration throughout the year. If you notice the soil become moist day after day, especially if the weather outside has been hot and humid, take off the pots immediately and allow them to drain properly overnight before replanting them again.
Another mistake people make is feeding their Prayer plants more than they can handle. Plants love food just like us humans do. However, excess fertilizers actually weaken their immune systems and prevent them from fighting against bacteria, fungus, and other pests. To avoid this problem, use only recommended amounts of fertilizer based on the type of plant species. You should always check whether the label states Fertilizer Rate per 100g (or litre), instead of Rate Per KG (or Litres) since the latter rate gives a better indication of nutrient content. Also note that different types of fertilizers work differently. For example, Ammonium Nitrate needs a lower dosage compared to slow-release granular form while both will perform equally well if used correctly.
If possible, try growing them inside under artificial lighting rather than directly outdoors because sunlight contains Vitamin D necessary for strong bones and teeth development, plus calcium required for cell membranes structure and fluid balance maintenance. Sunlight is also responsible for converting sugar molecules into energy needed to drive the photosynthesis process, therefore depriving Prayer plants of receiving adequate nutrition.
Finally, Prayer plants are prone to insect attacks. Most of the bugs target stems and leaves first. Try placing small netting around the base of your plant to protect it from being bitten, or spraying tea tree oil on affected areas. Tea Tree Oil works wonders in repelling various kinds of ants and flies.
How to revive a prayer plant
After reading this section carefully, you might think twice next time you buy new Prayer plants.
Here’s an easy way to revive those old ones and bring them back to life once again.
1.) Take off the dirt layer covering each plant gently using clean hands or a soft brush. Be careful not to damage the fragile roots underneath. Then rinse thoroughly with fresh water. Allow the pots to soak completely for 2 hours or even longer depending upon the size and depth of holes in the bottom of the pot.
2.) After soaking, remove the dirt remaining stuck on the sides of the pot and rinse again. Rinse until the liquid becomes clear and free of debris. Repeat step 1. & 2. till all the dirt is removed.
3.) Soak the pots for another 4 hours or so or till all dirt gets washed away. Make sure you leave plenty of space between the roots and the top surface of the soil. Otherwise, the roots won’t get enough airflow and can’t survive long.
4.) Now place the pots back where they belong. Fill the gaps between the roots with small stones and gravel to support them firmly. Don’t worry if the roots look messy or damaged as they’ll heal up nicely over time. Pray and wait patiently for several weeks till the roots grow stronger and healthier looking.
5.) Next month, put extra attention towards maintaining the right level of humidity in the pots. Keep checking the soil every week to observe signs of mold formation. If yes, wash the dirt away. Clean the pots thoroughly with soap solution or bleach mixture followed by rinsing with warm water. Dry them well with a cloth or paper towel. Apply a moderate dose of organic fungicide mixed with lukewarm water to disinfect the prays. Replant them back in the same position.
6.) Feed your prayer plants with nutritious homemade compost made of peat moss, sphagnum moss, vermiculite, manure, and leaf mold. Use a low nitrogen ratio and apply sparingly. Never add fish emulsion or chemical fertilizer to your compost unless explicitly stated on product labels.
7.) Remember to provide ample ventilation spaces in your homes or rooms for your prayer plants and choose the appropriate location according to their preferred nature. A sunny window sill would suit palms best whereas cacti and succulents need a cooler area.
How to care for a Prayer plant
If growing indoors, consider using a potting mix rather than dirt because it promotes less fungus and bacteria buildup.
Check the label carefully; there may be special requirements such as temperature range, light exposure, etc., that must be met for proper growth.
Keep away from direct sunlight and heat sources as these conditions can cause damage to the leaves and reduce flowering potentials. Also avoid placing close to radiators or other heating units. Be mindful of where you place your pots while keeping them out of drafts.
When buying new Prayer plants, it is important to check if any pests or diseases affect the species. Some common insect problems include aphids, mealybugs, scale insects, spider mites, whiteflies, and thrips. Plant diseases that commonly infect Prayer plants include blights (such as black spot), leaf spots, ring blotch, damping off, and rust. Prayers grown in areas affected by certain diseases can become infected easily. To prevent infection, try to locate purchase locations without wetness issues, excessive cold temperatures, or high levels of pollution.
Once purchased, here are some simple steps to follow to ensure maximum health and longevity for your prayer plant(s):
Water once per day, especially during hot summer months when sunlight reaches far deeper into containers. Avoid soaking your prayer plants all the way through since this could harm the crown formation near the top of the stem. Water only the soil portion of your plant, leaving the lower part exposed above ground level. A good rule of thumb is to allow 1 inch of standing water per gallon capacity of pot size. For example, if your prayer plant has a 4-inch diameter pot, then each week you should add approximately 2 gallons of water. Make sure to let stand until water evaporates completely. Never apply fertilizer sprays to pray plants as this can burn roots and inhibit growth.
Fertilize every two weeks with a slow release organic liquid formula designed specifically for houseplants. Follow package directions exactly and watch for signs of toxicity such as burning eyes, nose irritation, yellowing, and/or staining of leaves. Remove any dead blossoms promptly as soon as they appear.
Repot your prayer plants annually after they reach maturity. Do this early in springtime when old branches begin dying back naturally. Use clean soil or compost mixed with sand or peat moss. Take extra precaution if repotting outdoor plants, making sure to remove any rotten wood pieces or diseased parts. Gently dig around the base and gently shake out all loose material. Then set aside the plant while mixing together fresh soil, mulching materials, and sphagnum moss. Set pot firmly onto prepared bedding layer and spread out roots evenly. Firm down lightly with hands, ensuring that all sides of the pot are covered by soil. Continue filling in gaps between pot and surrounding soil using additional layers of soil. Afterward, tamp down thoroughly with fingers to eliminate air pockets and water deeply. Wait three days for water to soak into soil fully. Once done, monitor daily for any sign of dehydration.
After reading this guide, you’ll know what to do next time you buy a prayer plant! Remember, caring for prayer plants involves regular watering, feeding, and pruning. Happy gardening!