Create a lasting memory from your wedding day by planting the succulents from your bouquet and transforming them into your own succulent garden. Learn how to save the succulents for future use and cherish the moment for years to come.
When you buy something through this website, we may get a commission for it without making you pay an additional charge. This allows us to give you free content that you can enjoy.
I’m thrilled!
I am delighted to share this post with all of you! So many people have been reaching out to me about incorporating succulents into their wedding bouquets, and I am truly ecstatic about it!
A succulent arrangement is an excellent way to impress your guests at your wedding!
You can take the succulents from your wedding bouquet and use them to create a succulent garden that will serve as a lasting reminder of your special day. This is a great way to keep your wedding memories alive in your home for years to come.
Table of Contents
Your Succulent Bouquet
I was so pleased with my decision to purchase a succulent bouquet from Succulently Urban on Etsy instead of creating one myself.
Her bouquets were stunning and arrived in perfect condition. The packaging was designed in a way that ensured the bouquet stayed in place and was not exposed to any potential damage during delivery.
I strongly suggest you get your bouquet from her if you plan to purchase one online.
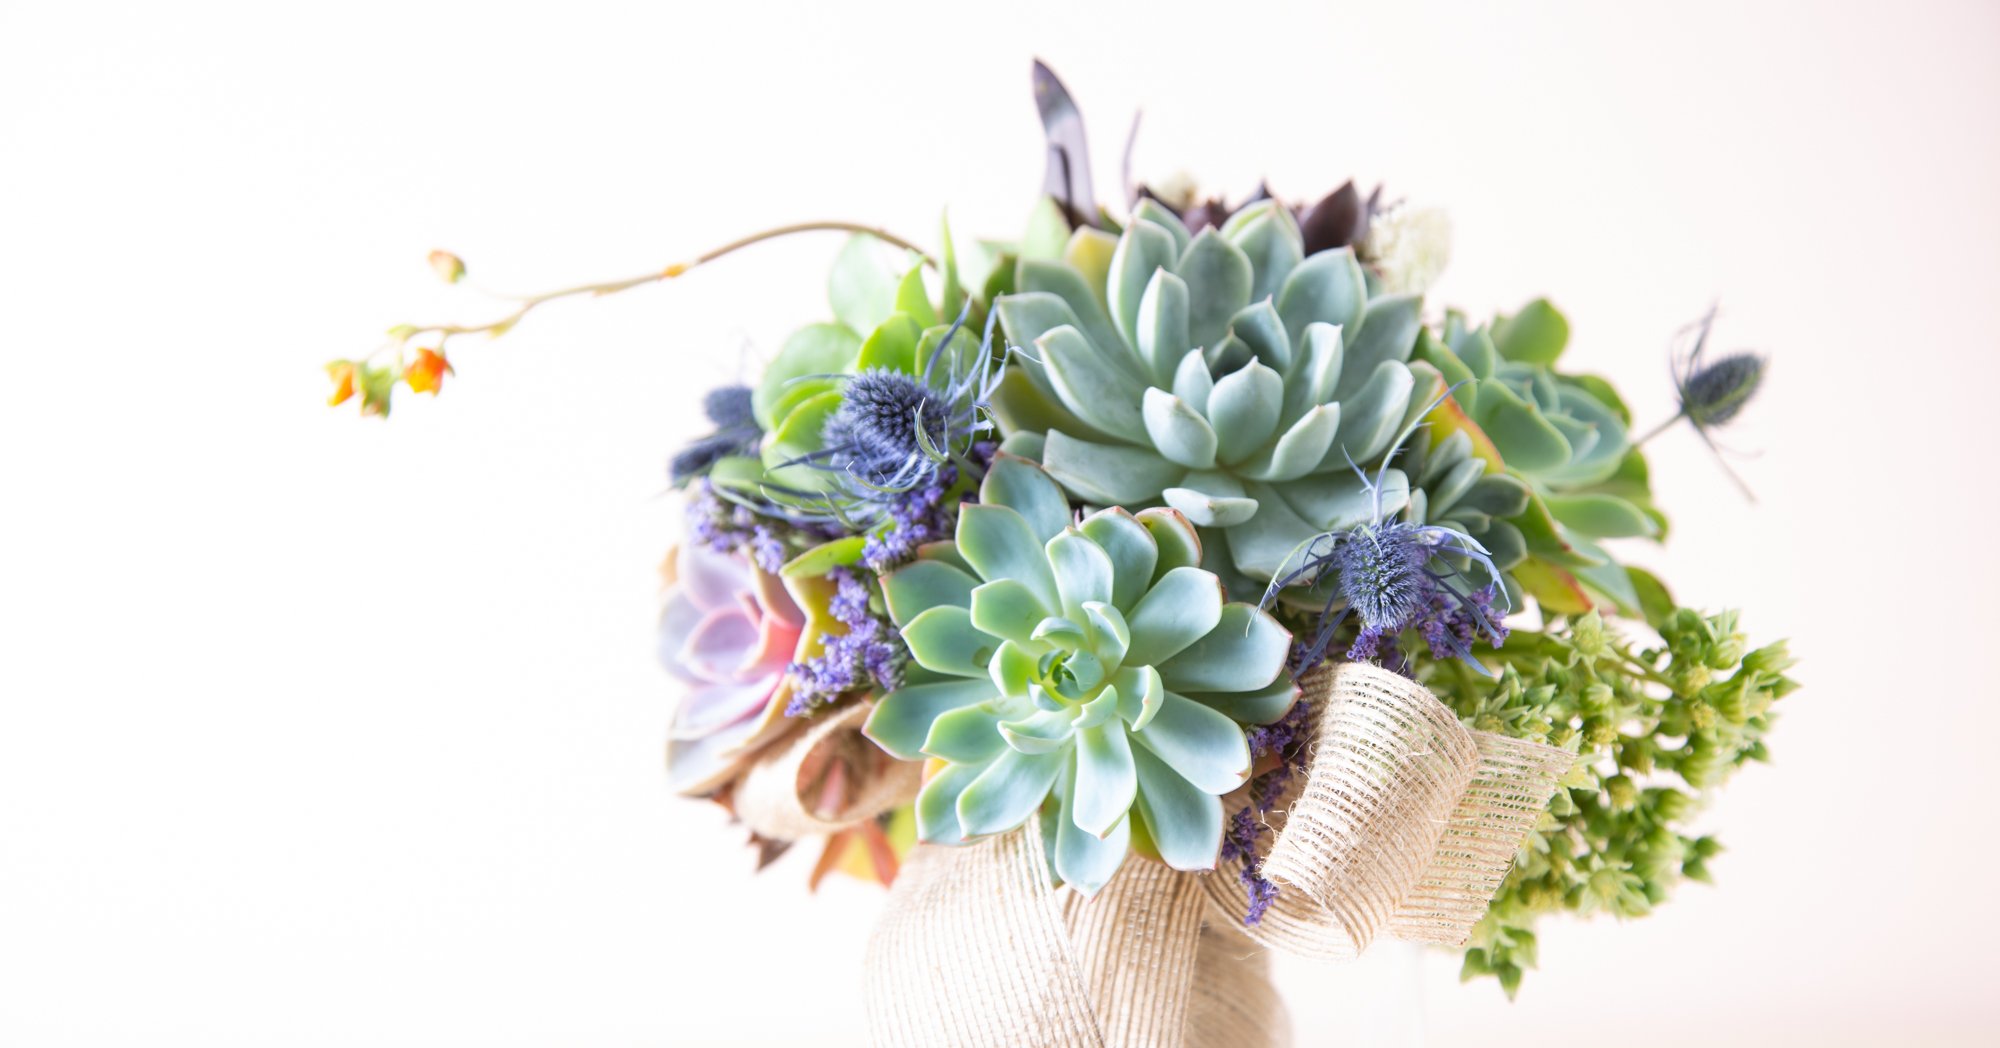
I was astonished at the longevity of the bouquet which was brought to me last Friday, although I didn’t get around to taking a picture until Monday. Succulents are known to be able to last a while without water, but I was pleasantly surprised that the other flowers in the arrangement also stayed looking fresh and vibrant.
This bouquet is incredibly sturdy and will stay intact throughout your wedding day.
This bouquet is especially exciting because it includes Aeonium blooms (did you know succulents can flower?), which can be seen on the right side of the image.
I thought it was a great addition; furthermore, succulent plants have a long shelf-life.
Remove the ribbon
The first step in preparing the bouquet is to take off the ribbon. You can do this by either cutting it or untying it. If you want to keep the ribbon, it can be helpful to untie it. Once the ribbon is off, you will be able to see the stems and wires of the succulents and flowers.
Cut the floral tape
Tear off the floral tape to uncover the stems and wires.
Pull out non-succulents
Pull apart succulent stems
Detach the floral tape from the succulent wires and divide the stems from the wires. Once complete, you should have an assortment of succulents linked to wires.
Peel back floral tape, cut and remove wires
I discovered the most efficient way of removing the wires from the succulents was to start by peeling back the floral tape, then snipping the wire close to the top. Make sure to leave an adequate amount of wire so that it can be pulled out in pieces. Repeat this process with all of the succulents until they have been stripped of the wires.
Remove dead leaves from succulents
To ensure your succulent grows strong and healthy, take away any dead leaves at the base. Doing this will reduce the risk of decay and help the plant develop roots.
Leave the cuttings to dry
Taking the wires off the succulents can lead to some minor harm to the plants. No major harm will be done, however, any breaks in the succulent can cause it to rot when it’s watered. I suggest allowing the succulents to air dry for a day before planting them.
Plant the succulents
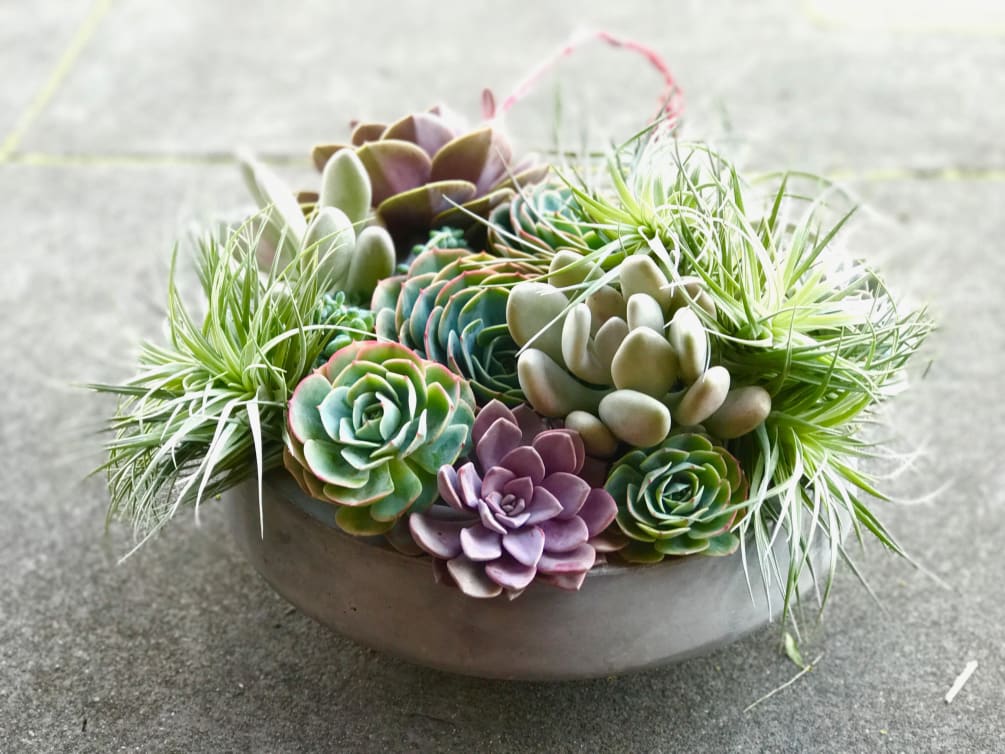
It’s time to start creating! Put together your succulent cuttings to make a beautiful container display.
My bouquet was composed mostly of Echeverias, which are all similarly sized. Knowing that these plants do not like to be overwatered, I chose a shallow bonsai pot to house them in.
This shallow vessel was a great choice! It had just enough space for the soil, yet its low height allowed the succulents to remain the focal point. I had originally gone for a taller pot, but it was too distracting and disrupted the visibility of the plants.
For detailed instructions on how to pot your succulents, take a look at my blog post on the subject. It’s easy to follow; simply fill the pot with soil, set the succulents in the soil, and add a decorative topping.
Making a container garden out of your succulent bouquet is easy and cost-effective. Spending lots of money on a bouquet is worth it when you can turn it into a lasting garden arrangement.
This tutorial will enable you to make a beautiful, lasting memento of your wedding that you can cherish for years.
Are any of you incorporating succulents into your wedding bouquets? If so, I’d love to see some photos!
FAQ
How long does succulent bouquet last?
Creating a succulent garden is the simplest way to propagate them, and all you need is one leaf. To commemorate a special occasion, one can gather their bouquet and build an entire garden. Additionally, a succulent bouquet can last the entire day without fading or drying out.
What to do with succulents in a bouquet?
Rewording:
– Unwrap your Succulent Bouquet. …
– Take off the ribbon. …
– Cut the floral tape. …
– Discard any non-succulent plants. …
– Separate the succulent stems. …
– Peel the floral tape back, snip and take out the wires. …
– Get rid of the dead leaves from the succulents. …
– Allow the cuttings to air dry.
What is the name of the succulent that looks like a flower?
The “rose succulent” is native to the Canary Islands, Spain and is called Greenovia Dodrantalis (or mountain rose). It is identified by its rosettes with densely packed leaves that look a lot like the petals of a blooming flower.
Do succulent arrangements last?
A bouquet of flowers may only last a few days, or a week if you’re lucky, but a succulent arrangement can last for months without any maintenance. While it may not look its best after a period of neglect, it will certainly look better than dead flowers.
What succulent looks like a bouquet of flowers?
This cute plant’s densely clustered leaves look like a rose blossom on the brink of blooming.


