No matter your level of expertise, you can improve your photography skills by learning how to capture stunning images of succulents and other flowers. Furthermore, you’ll find out how to take better photos in challenging lighting conditions, which is perfect for taking pictures on your trips.
When you buy something from this website, we may get a commission which doesn’t add any extra cost to you. This commission is used to fund content that we can give to you for free.
Today, I’m going to be focusing on how to get the perfect succulent photo.
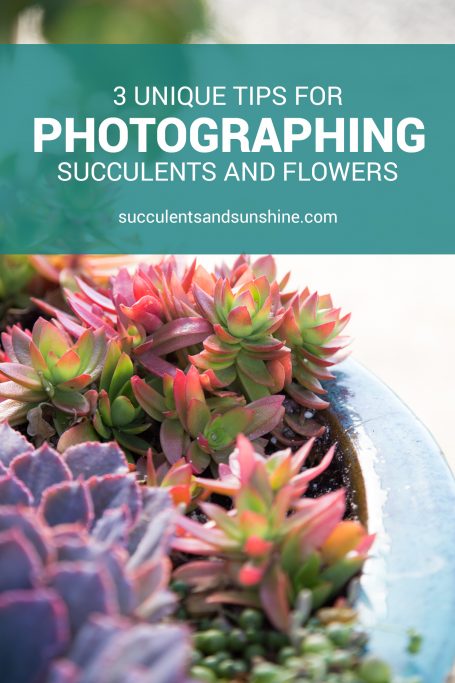
Today, I’m offering three useful tips for photographing succulents (and other flowers), and I’m also excited to tell you about a great class all about photographing flowers.
Are you prepared for the initial advice?
Table of Contents
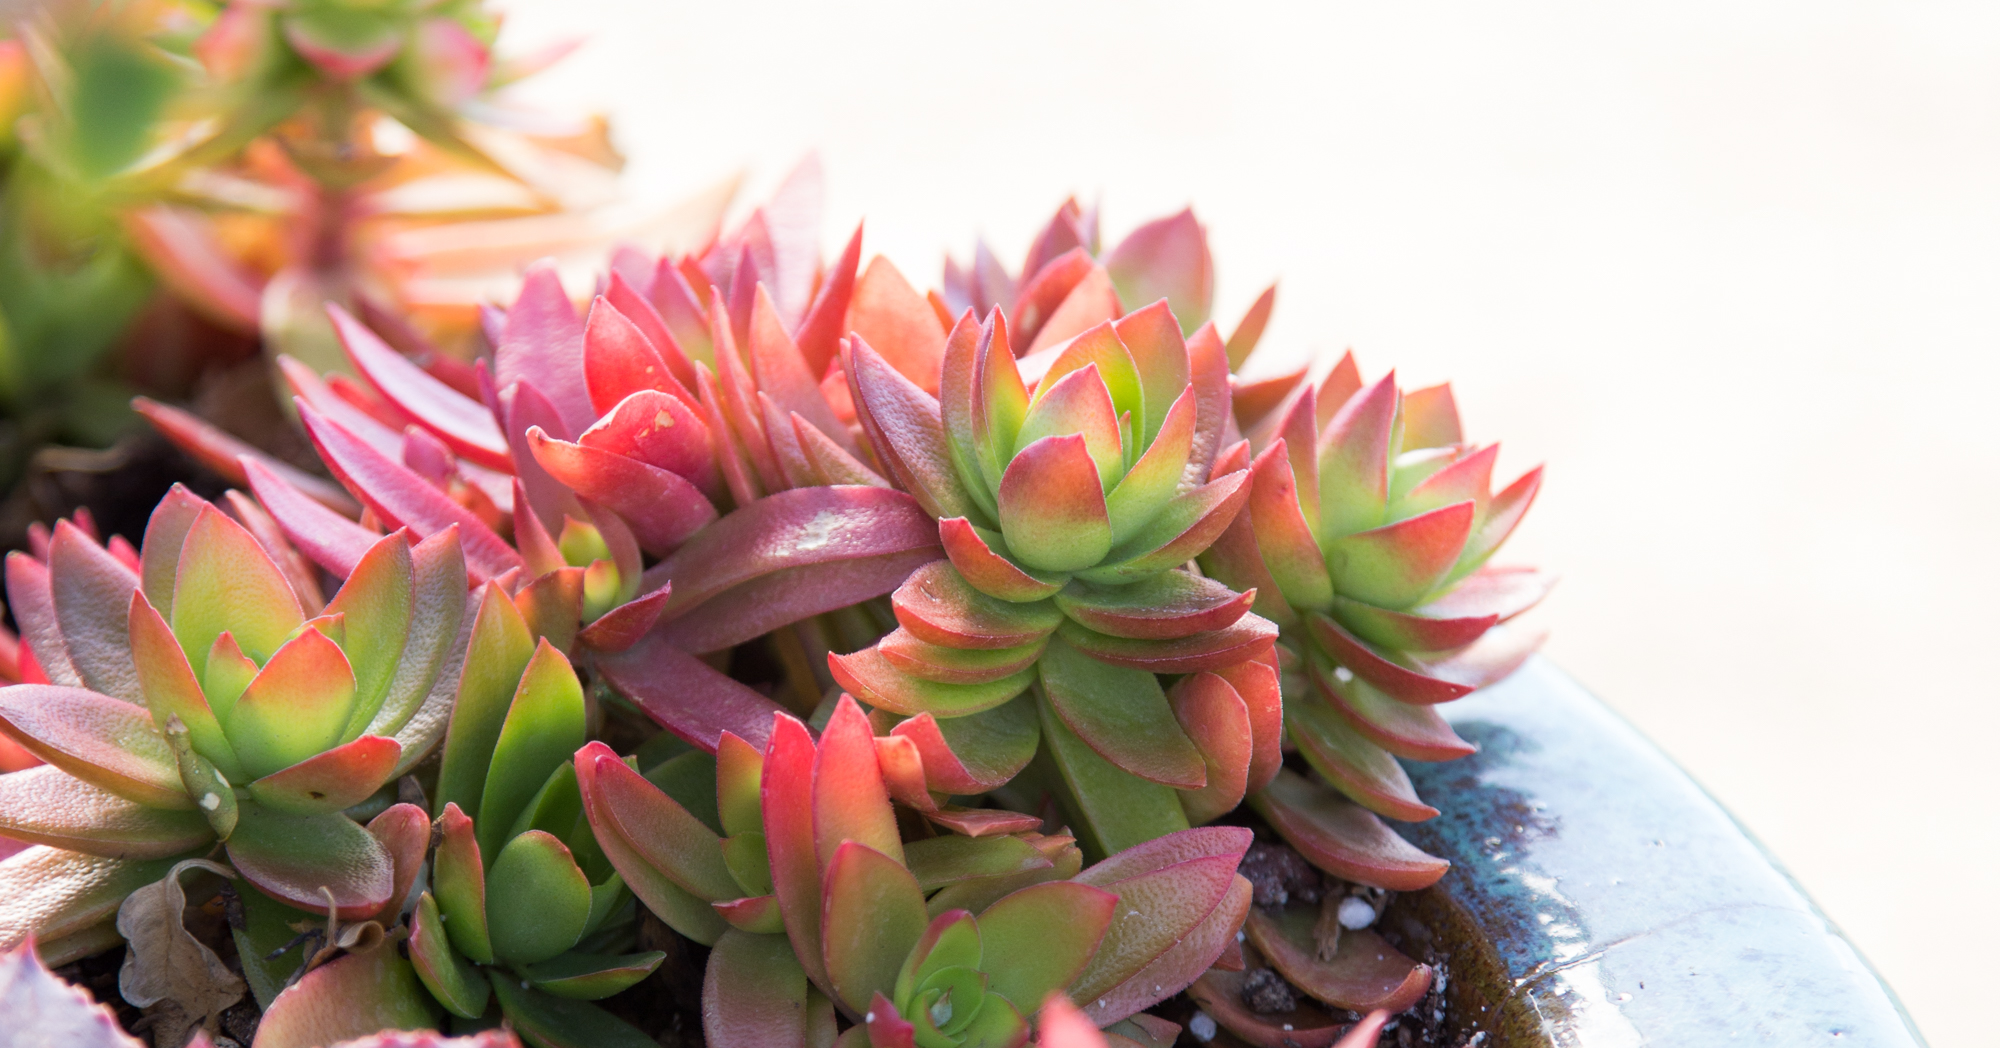
Get in close
This next succulent is a real head-scratcher – it can be hard to make out what’s going on, even if you take a closer look!
Find the best light
I’ve been to various gardens lately, but the timing hasn’t been perfect. Usually I’ve been there during the middle of the day when the sun is at its highest. This can be difficult to work with, but it is possible to make it work to your advantage.
Try to capture your flower with the light coming in from the side or from behind. Change your position and the angle of the camera to achieve this, as the sun cannot be moved.
I took some pictures of a flower in my aunt’s garden at 4:00 PM, when the afternoon light was very intense. I’m sharing an example of the flower to show how it looks in front, side, and back lighting.
- Substitute an alternative expression for the same meaning: To have a different point of view.
Have an alternate perspective.
To get a better photo, you should try to angle yourself so the sun is coming from the side, creating shadows that will give the image more depth. This will make the leaves and the flowers stand out more, and will create interesting shapes and shadows that will give the image more visual interest. The sun should still be bright enough to light up the flowers and create contrast, but it won’t be so harsh that it washes out all the details.
I changed the angle of the flower in the second image by rotating it 90 degrees. The sunlight here comes in from the left instead of behind me, giving the light a more gentle quality and making the flower stand out more clearly.
The third photo features a back-lit flower, which means the sun is behind the subject. To achieve this type of shot, it is important to be aware of where the sun is in relation to the camera lens to prevent direct sunlight from entering the lens and creating a glare. The soft light that is created can be very appealing, as it highlights the plant while the light shining through the leaves adds definition. The background light also helps the flower become the focal point of the image.
You might want to look for succulents that thrive in areas that are not too heavily exposed to sunlight, such as those that are in the shade or in environments with softer light.
Experiment with different angles and positions to get the best lighting for your plants. With digital photography, you can take multiple shots and compare which one looks the best.
A diffusion panel is a device used to diffuse light in order to soften the effects of direct lighting or to create a more even lighting of a subject. It consists of a surface with many small holes or patterns that allow light to pass through in different directions, thereby diffusing the light and giving it a softer, more even look.
Using a diffuser panel for close-up succulent photography can be incredibly helpful. I have a 24×36″ panel that I can easily store in my diaper bag or camera backpack. It’s also lightweight and easily manageable, so I can hold it while taking pictures. It’s worth the effort since succulents usually don’t move around much, giving me plenty of time to use the diffusion panel.
A diffusion panel is a piece of fabric or plastic that you can put in front of the light source to soften it.
You may be wondering what a diffusion panel is and why you would use one. Diffusion panels are used to soften light when you’re unable to change its direction or when the lighting is too harsh. They are pieces of fabric or plastic that can be placed in front of the light source.
Reformulation: I find the aesthetic of a diffuser creating a soft, light shadow when placed between the sun and a succulent appealing. The diffuser diffuses the sunlight, resulting in a pleasant illumination.
If you have access to a photo assistant or a helpful sibling, they can help you hold a diffusion panel while you take the shot. However, if the panel is small, it should be manageable for you to hold it yourself.
Here’s an example of how it works: Take a picture of yourself holding a 40×60″ panel that is typically too big for you to handle alone.
Here is the final image I captured:
I found the side/back lighting to be a bit too harsh for my taste, so I used a diffusion panel to make the light more gentle and give the plants a pleasant glow.
The next time you take photos of succulents, keep in mind the tips I’ve given you. If you want to take your flower photography to the next level, I strongly suggest that you enroll in Craftsy’s Photographing Flowers course.
I enrolled in the course a few weeks ago, and I have been thoroughly enjoying it. The instructor does an excellent job of breaking down the material for those who are just starting out, yet also going in-depth for those who are more experienced. I’ve been watching a video or two every day, and it’s been a great learning experience.
The beauty of this Craftsy class is that you can access it for a lifetime. This allows you to revisit the course whenever you need, practice new techniques, and gain more knowledge.
I genuinely adore the Craftsy platform for classes. They offer a vast selection of classes on photography, and other topics as well.
You should also take a look at Debra Lee Baldwin’s Stunning Succulent Arrangements course. It has a lot of useful advice and ideas for working with succulents that you may not have seen yet.
I hope this Succulent Saturday has been helpful for you! I’m passionate about photography just as much as I am about succulents, so I want to assist you to grow that same love. Now, let’s get snapping! Try photographing succulents from a different perspective, getting in close, or using a filter to see if you can get a better shot.
FAQ
Is morning sun good for succulents?
It is suggested to place your indoor succulents in an area with plenty of indirect sunlight or full sun in the morning, preferably near a bright window.
Do succulents like morning sun?
Low light succulents are content with receiving only indirect sunlight, ranging from morning to afternoon. Thus, even if you don’t have a bright South-facing window, these plants can still thrive in your home.
Do succulents like direct afternoon sun?
If you don’t have much natural light, opt for succulents that can thrive in shadier settings. Mother-in-law tongue is an ideal choice for dimly lit locations and should be placed near a window that faces south or east for the most light. Most succulents, however, require 6 hours of direct light each day to thrive.
Is morning sun or evening sun better for succulents?
Low light succulents can thrive in indirect sunlight ranging from morning to afternoon, so you don’t need to worry if you don’t have a bright South facing window. These plants can still be content in your home.
Can a succulent get too much sun?
Some succulents may not be able to tolerate intense direct sunlight for more than 6 hours, as they can become sunburned and their leaves may become brown or black, and begin to shrivel or form calluses.