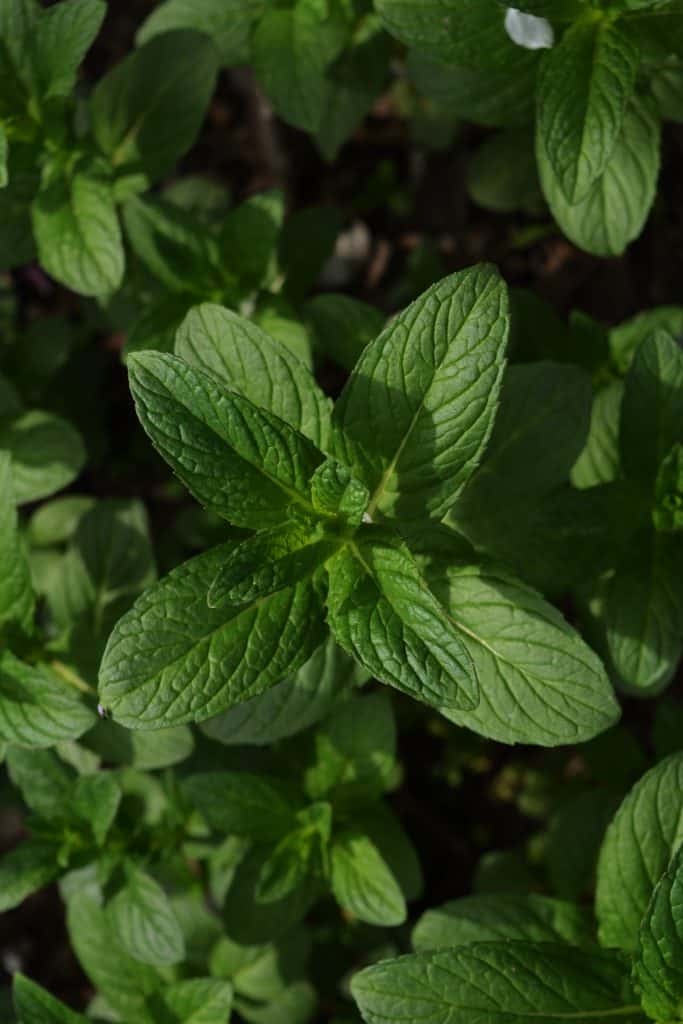
Mint is one of the easiest and most versatile herbs you can grow. It’s easy to care for because it has no deep roots like other herb varieties do. You can harvest your own mint year-round by simply cutting off new growth when it appears above ground. And the best part about growing this low maintenance perennial garden herb is that once they are established in its permanent spot, mint will require little effort on your end beyond watering them every few days or so.
If you have ever planted mint seeds into potting soil before transplanting them outdoors, then you know that mint requires rich soil and lots of sunlight. They also need regular water as their shallow root system doesn’t allow them to go more than a couple of inches below the surface without dying.
If left too long unmoored from their source of moisture, mint leaves wilt and turn yellowish green. This happens when the plant is deprived of oxygen, which causes chlorosis (a leaf discoloration). In addition, if there isn’t enough room for all those mint leaves to spread out, each individual stem may become stunted, losing height and turning brown at the base.
As the main ingredient in many popular herbal remedies, mints come in all shapes and sizes, including dwarf, compact, creeping, and even ornamental types. While some people prefer fresh mint while others enjoy using dried versions, both offer numerous health benefits.
For example, peppermint contains menthol, an aromatic oil used as a natural cough suppressant, and spearmint offers relief against nausea and motion sickness. Peppermint essential oils contain rosaflatifolin, a compound proven effective at treating fungal infections such as athlete’s foot fungus and ringworm. Spearmint essential oils are known to relieve symptoms associated with hay fever and sinusitis due to its ability to calm the mucous membranes inside our nose passages. The list goes on and on!
One thing is for sure—there’s nothing better than planting your very first batch of fresh mint right after spring arrives. But what should you be doing when summer rolls around next? Well, we’ve got just the answer — here’s how you save your mint during these hot months.
Table of Contents
Symptoms of over Watering Mint plants
The worst mistake anyone could make when caring for any type of houseplant would be overwatering them. However, since mint is relatively drought tolerant compared to other flowers and vegetables, excessive rainwater soaking can actually kill it. To prevent this scenario from taking place, keep watch on your mint patch throughout the season. As soon as you notice drooping foliage appear, pull up the entire plant and check underneath where you’ll see the reason why: soggy, blackened stems.
When checking the bottom of the plant, look specifically for signs of rot. Avoid peeling back the outer layer of the mint skin to view the actual fleshy core beneath. Excess water seeping through cracks or holes in the old, dry bark makes for ideal breeding grounds for mold, bacteria, fungi, and pests. These harmful invaders thrive in humid environments, especially during warm seasons.
When this occurs, the rotting process begins and continues until only the thin inner layers remain. Once you remove the outermost portion of the mint, remember to cut away the damaged tissue so you don’t accidentally take along healthy portions of the stems underneath.
Although not much worse, excess rainfall can sometimes cause mildew instead of rot. Mildew affects the upper part of the plant, usually near the tips. To avoid getting rid of healthy parts of your mint, try covering the affected area with clear plastic wrap. This allows air circulation but keeps the bad stuff from spreading further. Also, use a spray bottle filled with lukewarm distilled water and apply directly onto the affected areas. Afterward, rinse immediately and thoroughly with clean water.
How to Save Over Watered Mint
You’re probably wondering how to get your mint back to life once you realize it was killed by extreme weather conditions, first things first, take note of the following basic steps to follow whenever possible:
Check yourself before heading outside, heavy downpour may seem harmless at first, but it might still soak your clothes or shoes making you feel wetter than usual, before going outside, change your soaked clothing or footwear into something dry.
Try to identify the specific variety of mint you purchased, some mint species may react differently to certain environmental factors such as temperature changes, humidity levels, and exposure to chemicals.
Each variety has different needs, so be mindful of what kind you bought and research online whether there are any special requirements needed for its survival.
Wait until everything dries out completely. Don’t rush the drying time the last thing you want to do is put your mint in direct sunlight. Instead, store it somewhere cool and dark.
After waiting for the perfect moment, gently dig up the whole plant and inspect the roots carefully.
Look for moist spots or places where tiny white nodules formed. Those small structures are called “girdle bands” and indicate that the plant didn’t receive adequate amounts of water.
Take extra caution to ensure proper drainage is in good working order.
Once you find the problem areas, fill in the gaps between the girdle bands with sphagnum moss.
Apply the same technique to create additional ventilation channels around the crowns. Make sure to leave plenty of space between the moss patches to let the roots breathe freely.
Water the mint again according to the instructions provided on the package.
Depending on the type of mint, give it anywhere between 1/4 – 2 gallons per week. Remember to always keep tabs on its progress and adjust accordingly. Always make sure you water deeply. Never drown the plant by flooding it with water.
In case of severe damage caused by improper irrigation practices, you can replant your mint in pots with sterile dirt. Keep in mind though, that the new environment won’t provide nutrients required for its recovery. So, consider supplementing your plant by adding a slow release fertilizer specially formulated for indoor gardening.
Keep an eye out for any pest activity. Fleas, aphids, slugs, worms, mites, and mealybugs tend to show up during rainy periods. Try sprinkling diatomaceous earth on the infested areas. Diatomite powder kills insects via ingestion. Just sprinkle on the infected spots daily, wait for the larvae to eat it, and repeat the procedure weekly. Slugs and snails can easily ruin your mint crop. Be proactive and protect your plants by placing traps made of crushed eggshells nearby. Lastly, spraying insecticidal soap solutions on the leaves helps repel bugs.
For stubborn cases, consult a professional gardener who specializes in potted plants. He or she can help troubleshoot problems and devise a plan of attack. With a bit of attention and patience, you can save your mint plant from complete destruction. Now that you understand what to do when faced with a mint emergency, start planning your future garden today!
If you’ve got one of these beauties growing in your herb or vegetable gardens then it is time to take some extra steps to ensure their continued health and longevity. While they are quite easy to grow from seed, many people find that buying young plants can be more convenient since there will not be as long a period where you have to wait before planting them outside. If this sounds like you, here we go with a simple guide on caring for mints (including peppermint, spearmint and other varieties).
Best locations in the garden for mint plants
Mints do best when planted in full sun but also enjoy partial shade. They should be placed near a source of good drainage and watered regularly so they don’t dry out quickly. Mints prefer well-drained soil which doesn’t need fertilizer. The roots may spread over several feet so make sure you choose an area away from trees, shrubs and anything else that could cause root competition. Also consider placing them next to each other rather than across from each other because mint leaves love to compete with each others’ growth!
How much water to give a mint plant
Watering can be tricky because mint prefers moist conditions but does not like being overly wet. Here’s what you’ll want to pay attention to with your watering schedule:
Give mint plenty of water during hot weather – especially if it gets very sunny. Water deeply once every day until all the topsoil becomes thoroughly soaked. Then lightly sprinkle again daily, allowing excess moisture to drain through the bottom of the pot. A little bit of standing water is OK at night.
In cold weather, only water enough to keep the surface slightly damp. You should allow most of the water to evaporate naturally. Keep pots off frosty surfaces such as concrete floors or sidewalks. Make sure to check the soil level often to see how deep the roots are going into the ground. This helps prevent fungal diseases.
Don’t let the mint get too thirsty.
Overwatering causes leaf drop and weak stems. Use a pair of scissors to snip any new growth emerging above the foliage.
Once the tips die back completely, stop watering altogether. It’s important to avoid overwatering the roots, otherwise the plant goes into shock and dies.
A lot of people who buy small potted herbs think they shouldn’t bother taking proper care of the plants because they won’t last longer than 6 months. But actually, mint thrives year round if given regular tender loving care. Just follow our basic guidelines above and you will have healthy, thriving plants. And even though mint grows fast, try giving it 1/2 cup of liquid per gallon of soil about twice weekly. After the first week, increase the amount gradually depending upon the type of mint you are using. For example, use 2 cups per gallon instead after the second week for basil while rosemary needs 4 cups per gallon.
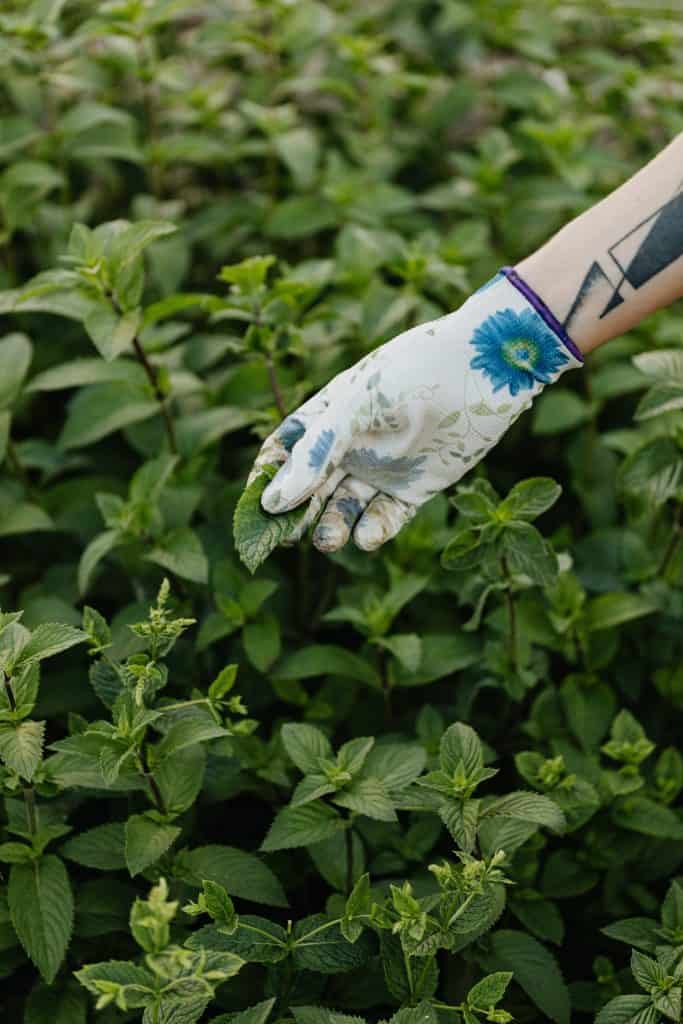
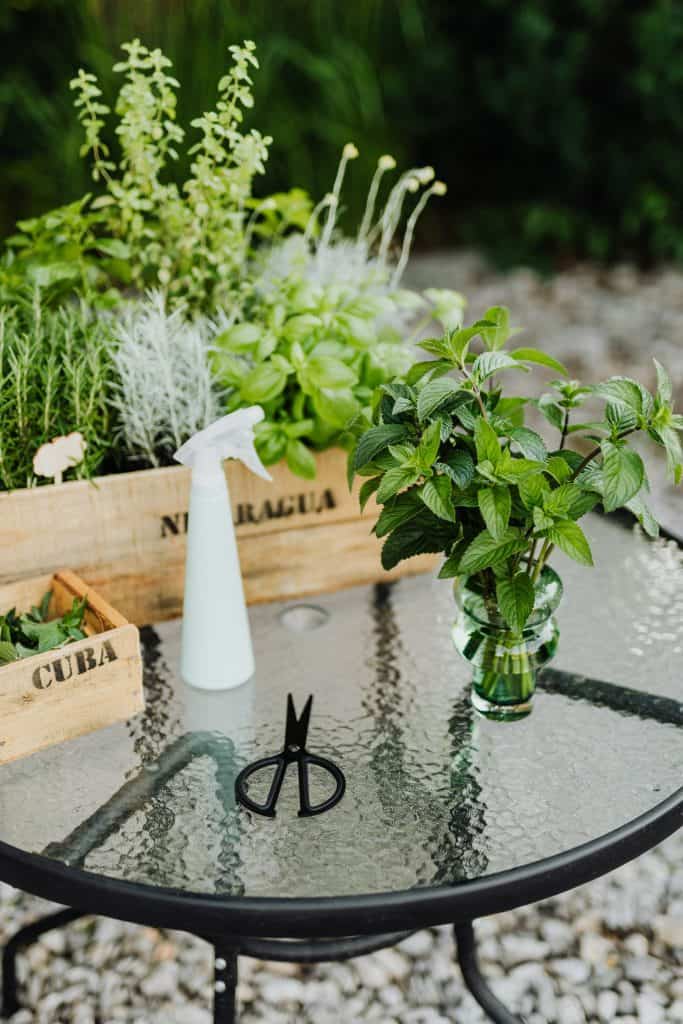
Also, remember to remove old, dead leaves and flower stalks immediately as soon as they wither up. When harvesting fresh leaves, cut right below a leaf node–the point where two branches meet. Never pinch a stem anywhere along its length because doing so would damage the plant. Instead, simply cut the stem just above the desired part of the plant–this allows the plant to heal itself without scarring. Finally, always harvest mint before it flowers because flowers attract insects that feed on developing seeds. Harvesting later results in lower yields and reduced quality.
Here are a few additional helpful hints:
To encourage strong lush green leaves, apply mulch around the base of the plant. However, never spray directly onto the leaves themselves. Doing so might kill the plant.
When propagating mint indoors, place newly formed buds between layers of newspaper held together with string. Cuttings should be taken once a branch reaches 12 inches tall. Try soaking the cutting overnight in distilled white vinegar before replanting.
Don’t treat pests such as aphids with insecticides. Pesticides can harm surrounding wildlife including beneficial bugs and pollinators.
Now you know everything you need to know about caring for mint plants. Happy gardening everyone!
For more information please visit http://www.gardenguardian.com/.