There are few things more heartbreaking than watching your favorite plants die. Sometimes, it’s even difficult for us humans to keep them alive long enough so we can enjoy their beauty and harvest them as part of our meals. While the loss of an individual plant may not be that big of deal, when you’re talking about entire fields or farmlands, losing crops is truly devastating.
But don’t worry—there are ways to help your garden grow again if one or all its members have passed away. With proper care, there’s no reason why they shouldn’t live on in your hearts forever! So let’s take a look at some common symptoms and causes of a dying corn plant along with simple remedies to try if any attempt fails.
Table of Contents
Common Symptoms & Causes of a Dying Corn Plant
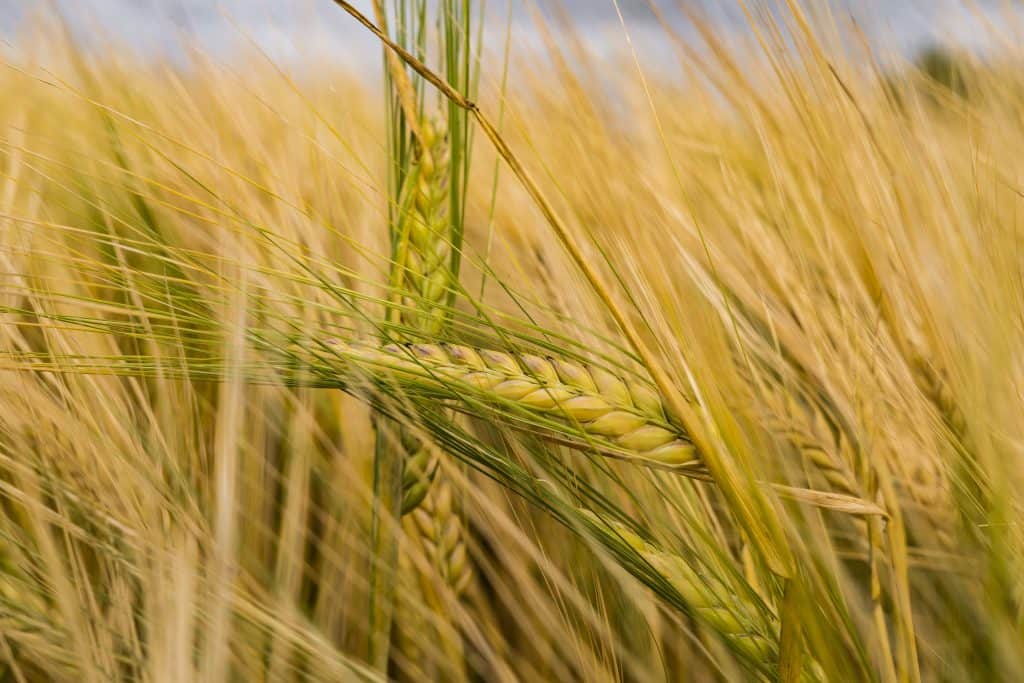
Corn (Zea mays) has been around since pre-historic times because it grows well under many different conditions. It thrives in rich soil filled with nutrients from manure, composted leaves, or other organic matter. The best way to ensure this is by using good quality topsoil instead of regular dirt. This will also reduce the amount of weeds growing alongside the corn which can cause problems later down the line.
If the dirt surrounding your corn plant looks too dry or lacks moisture, then it could be time to add water. Also make sure to check for dandelions nearby because these nasty little buggers love eating up nitrogen that would otherwise feed the corn. If necessary, dig out the affected areas and soak them in water until the roots start poking through. You should do this every day for two weeks before moving onto step three below.
One thing to note here is that while corn isn’t technically a weed per se, it doesn’t mean you can just pull it right off without doing damage to the root system underneath. In fact, pulling a dead corn stalk can actually kill new growth while leaving older stalks untouched can stunt future development. But that said, if you’re dealing with a large patch of corn gone wild, feel free to give it a quick yank to get rid of everything above ground.
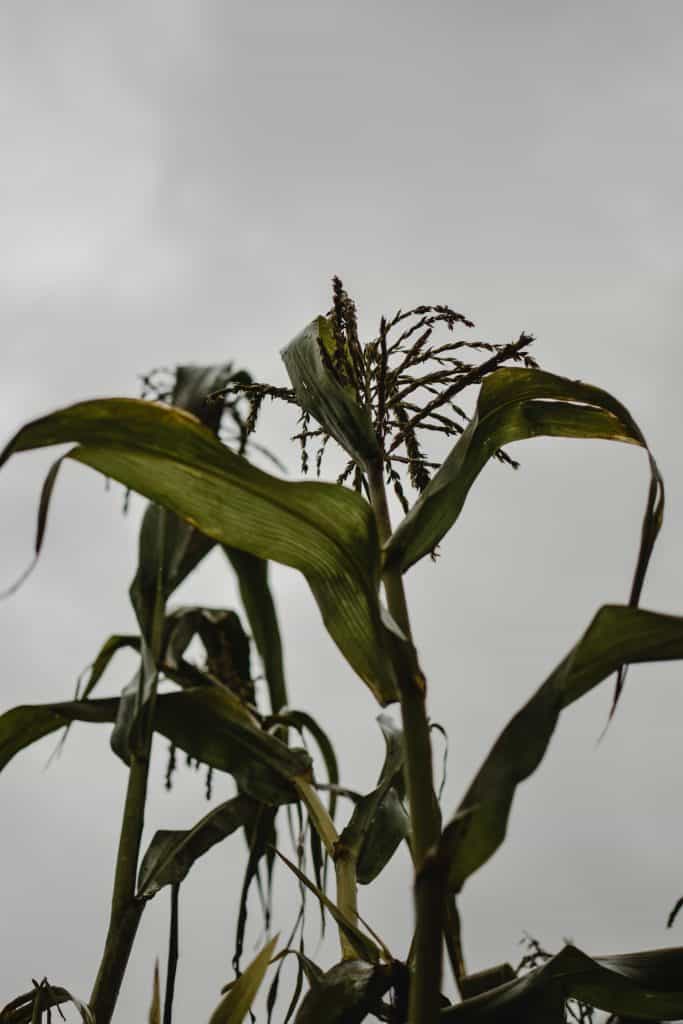
Another important factor that affects corn health is sunlight exposure. Too much sun during peak hours can burn tender young stems, making it less likely to survive. On the flip side, shade means less heat stress but won’t protect against disease. For maximum yield potential, aim to expose each ear to direct light between 8am – 4pm.
Finally, another major symptom of a sick corn plant is nutrient deficiencies like iron deficiency chlorosis. These occur due to poor air circulation and lack of rainwater, both of which affect photosynthesis. Fortunately, this kind of problem is easy to fix once detected so you only need to follow the steps outlined below.
How To Save A Dying Corn Plant
The first order of business is to figure out what exactly killed your corn crop. Unfortunately, this process requires patience and thoroughness. Take notes and record anything you find unusual including weather patterns, insect activity, and pest infestations. Afterward, collect samples of soil and debris from multiple locations where corn was grown, mix them together, and send them for lab analysis.
In terms of preventing further harm, the most effective method involves applying fungicide treatments directly to the soil surface. However, corn varieties resistant to certain types of fungi exist. Therefore, if you know the culprit behind your failed plot, you’ll want to contact local nurseries or agricultural stores ahead of schedule to buy alternative products. Or better yet, ask someone who knows specifically what worked last year.
Once you’ve identified the exact type of fungus responsible for killing your corn, you’ll need to decide whether you’d rather fight fire with fire by spraying infected soils with pesticides. Depending on your region, you might consider getting professional advice regarding specific methods. There are several proven practices to choose from such as copper sulfate treatment, azole derivatives, sulfur, etc., but always consult reputable sources first.
As mentioned earlier, the biggest risk associated with pests is nutrient deficiencies caused by inadequate rainfall. Luckily, solving this issue is fairly straightforward. Simply create tiny streams and irrigation channels for fresh water flowing into the field by digging holes and laying PVC pipes across rows. Once done, fill those spaces with gravel and rocks, connect them to a hose, and run the whole setup on timer.
To improve air circulation, use fans to blow moistened particulate material over plots. This works especially great in tandem with sprinklers and/or drip hoses. Finally, apply mulch to insulate soil surfaces from extreme temperatures. Not only does this provide extra warmth, it helps retain moisture levels while reducing evaporation losses.
Now that we understand the core factors involved in a healthy corn plant surviving past death, let’s talk about how to revive one after being pulled out of the ground.
After successfully saving a corn plant…
Water newly-revived ears immediately. Don’t wait however long it takes for kernels to appear as this delays maturity. Keep watering daily until seed heads reach full size. At this point, you can switch over to wetting foliage regularly to ward off bugs and fungal infections. When harvesting comes around, cut the remaining husks open with scissors and remove silk strands to allow ears to mature properly. Then simply store seeds inside paper bags in a dark place for up to six months.
How to take cuttings from cornstalks
Corn isn’t very sensitive to cold temperatures, which makes it ideal for home gardens as well as community agriculture plots. To get started, all you need are scissors, water, and fresh corn kernels. The process is simple: Just grab a stalk near the bottom leaves at the end of each ear, slice off about half inch worth of leafy growth above ground, and carefully snip away the tip of stem closest to the kernel rows until you reach the base of the ear. Then remove any remaining lower leaves and stems. You should now see multiple small shoots coming out around the area you removed the top part of the stem from. Make sure to keep these new “shoots” moist by misting them regularly with clean tap water, keeping them inside during winter months though since corn doesn’t like frost. Once spring arrives, bring them outside to continue their transition into healthy young plants.
Once planted, corn generally grows tall enough to support climbing beans or cucumbers, depending on the variety. If you don’t plan to use those vegetables right away, however, make sure to give your corns room to spread out after planting. Otherwise, they might become prone to pests such as aphids and mealybugs, both of which can damage developing ears. While many varieties of corn aren’t susceptible to these problems, you may still want to protect yours from bugs while allowing air circulation without shading them completely. Corn also needs plenty of space between itself and other taller crops, especially tomatoes, because they produce ethylene gas that could cause nearby fruits to ripen faster than usual.
If you live somewhere warm and sunny year round, make sure to check local weather forecasts before putting them outside. They’ll need sunlight and moisture even in cooler seasons when night time temps dip below freezing. And if you find yourself having trouble watering them correctly, try testing a few kernels with water from your hose to figure out exactly how much liquid to add per day.
Keep reading to learn how to feed, nurture, and prune your corn plants.
Feeding corn plants
It’s important to remember that although corn tastes great cooked straight off the cob, it takes several weeks for the kernels to develop fully. By feeding them extra nutrients early on, you help ensure bigger yields later. In addition to providing essential minerals and vitamins, fertilizer promotes rapid root production that helps strengthen the connection to the nutrient-rich earth beneath it. There are lots of different types of fertilizers available, including granular organic ones made with natural ingredients such as fish emulsion, bone meal, bloodmeal, and seaweed extract. Or you can opt for bagged chemical nitrogen products, which contain ammonia and urea, or slow-release formulas. It’s recommended that you apply fertilizer only twice weekly, usually in late afternoon or evening, using a sprayer or dousing method—avoid sprinklers as they wash away valuable nutrients instead of soaking deeply into the soil.
Pruning corn plants
As mentioned earlier, corn has no real relationship with competition, meaning it won’t mind being surrounded by taller plants. Because of this, it’s best to avoid overplanting your plot with other veggies, as well as giving larger weeds access to light by leaving spaces open between rows of corn. As far as companion planting goes, most experts recommend against letting corn compete with peas, carrots, squash, pumpkins, eggplants, peppers, lettuce, onions, garlic, radishes, kale, cabbage, turnips, collard greens, Brussels sprouts, strawberries, blackberries, raspberries, mint, thyme, oregano, rosemary, basil, parsley, tarragon, chives, leeks, fennel, broccoli, and potatoes.