If the planting area is modified with organic matter to a depth of 12 inches, hostas can thrive in moderate clay soils. To promote drainage and reduce soil compaction in heavy clay and to prevent waterlogged soil, which can cause root rot, regular mulching is essential.
To effectively grow hostas in clay, you must be aware of the following:
- The challenges of cultivating hostas in clay soils (so you can avoid them)
- the proper way to modify clay soils before planting hostas
- How to care for hostas in clay soils already (that may be struggling)
- The ideal hostas to grow on clay soil
Table of Contents
Problems of Growing Hostas in Clay Soil
For three main reasons, hostas may have difficulty growing on clay soils:
- The hosta’s roots will find it difficult to penetrate the soil deeply enough to acquire water, nutrients, and to gain enough traction to provide them the stability they require in exceptionally dense or compacted clay.
- In the summer, clay soils have a propensity to bake hard, causing water to flow off the top rather than soak into the soil and reach the roots of the hosta.
- Hostas do require regular watering (the majority of cultivars require a good soak twice weekly throughout the growing season), but they dislike having their roots sitting in water. Water frequently collects or drains very slowly on clay soils. Most hosta cultivars will develop root rot if exposed to wet soil on a regular basis.
How to Amend Clay
Soil before Planting Hostas
However, you will need to prepare the soil before planting if your soil contains a substantial amount of clay and the earth drains significantly slowly after a significant rainfall.
If you’re unsure, a useful test is to run the hose pipe over the desired planting area for a short period of time, and then watch how quickly the water drains away.
You will need to add a substantial amount of organic matter to the area if the water has created a puddle or if it runs off the surface without penetrating the soil.
- In order to fit the mature plant’s root system, the hole should be dug to a depth of around 12 inches for smaller hosta kinds and 16 inches for bigger hosta varieties. Depending on the size of your hosta, the hole’s width will vary, but it’s a good idea to make it proportional to the hosta’s root ball or equal to its depth. Although a depth of 16 inches might seem excessive, you need to create a buffer zone of compost or sand between the roots’ bottoms and the clay soil beneath them so that water does not gather there.
- In order to create a loose soil structure that will allow water to drain away from the roots as the bottom of the hole, add 2 inches of compost, sand, or grit.
- Make sure your hosta is planted in the ground so that the roots are hidden but the crown—the point at which the roots join each stem—is exposed. Before planting, it is a good idea to check that the crown is around the proper height using a bamboo stick.
- With organic material like garden compost, leaf mould, well-rotted horse manure (fresh manure may burn the roots), or multifunctional compost purchased from a garden center, fill up the space around the hosta’s root system. All of these amendments will have the ideal soil structure and drainage characteristics for your hosta’s roots and the ideal pH for growing hostas (between pH 6-7). Compost and other organic materials have a good capacity for absorbing water, but because of their open structure, they also enable excess water to drain out, which is the ideal balance for growing hostas.
- After planting, avoid compacting the soil around the hosta because this will harm it. Instead, water the area around the plant’s base and allow the earth settle. If additional compost is needed to level the ground around the plant, do so.
- After planting, give the hosta a considerable amount of water, making sure to thoroughly wet the soil, as hostas are susceptible to drying out. For the first four weeks, drinking 4 liters of water twice a week is excellent.
- Apply a 6 inch space between the mulch and the hosta stems and a 2 inch layer of mulch around the base of the plant. Your hosta will benefit greatly from this mulch’s ability to retain water, control weeds, and promote soil ecology.
Why it’s Important to Add Mulch to Hostas in Clay Soil
Mulching hostas on clay soil is advantageous fornumerous factors
- Organic mulch, like leaf mold or horse manure, is an excellent way to promote soil ecology and encourage earthworms, which in turn create channels in the soil that allow water to drain away more effectively and create space for roots to grow, both of which are crucial to combating heavy clay soil that can restrict the root growth of hostas.
- Earthworms and rain will work in concert to naturally absorb the organic mulch into the soil. As a result, clay soil will become less dense and impermeable and more porous, allowing for greater drainage.
- Clay soils are prone to compaction, which will make life challenging for your hosta. This usually happens when you have to stand on the soil bed for weeding or watering. The most effective technique to lessen soil compaction is to mulch twice a year.
- Clay soils have a tendency to bake hard in the summer, which prevents water from penetrating the roots of your hosta since it runs off the surface or into soil fissures. The underlying soil will stay cold and won’t crack if there is a layer of mulch covering it. Water is also much more likely to permeate into the soil if the surface is coated in a layer of mulch than it is to flow off.
Leaf mould or regular garden compost is the finest mulch for hostas planted in clay soils since it has a great capacity to retain water and keep the environment favorable for the hosta. They will also help the soil become more fertile and control weed growth, giving you more time to enjoy your garden.
Applying mulch twice a year will help your hosta get a head start when the weather warms up for the new growing season. The first application should be made in the spring to help retain water during the growing season, and the second application should be made in the fall to help protect the roots from the worst of the winter cold.
On clay soils, I would advise against using mulch made of wood chips or pine needles because they can take years to decompose and so take a long time to improve the structure of the clay soil.
What to do for Hostas Already Growing in Clay Soils (How to help them)
When it comes to moving, dividing, and avoiding “transplant shock,” hostas may be the hardiest foliage perennial plant developed for gardens.
Hostas are actually so resilient that you can move, divide, or transplant them at any time of year without worrying about the plant dying.
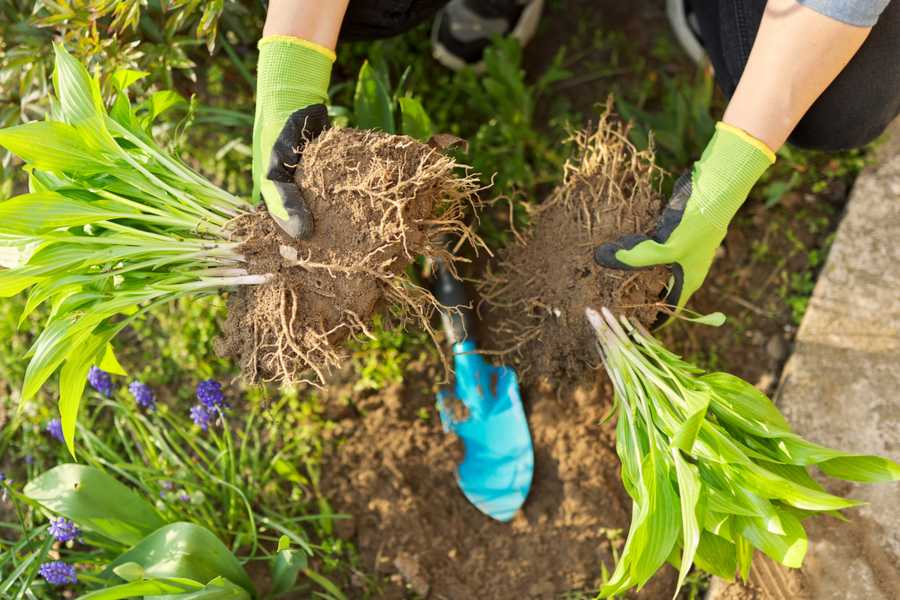
This entitles you to carefully tease your hostas out of the ground with a fork. To release the roots without damaging them, loosen and manipulate the soil around the hostas using a fork.
Avoid using a spade to free your hosta because the edge of a spade is brutal and could cut through the hosta’s roots.
Once your hostas are liberated, all you need to do is add lots of organic matter to the clay soil they originally grew in. Leaf mold is the best choice because it has an excellent capacity for retaining moisture, which is essential for your hosta’s roots.
If you have a large hosta cultivar, work the organic materials down to a depth of about 12 inches. If the planting area has bad drainage, add some grit or sand to assist water permeate more easily. For the ideal environment, a ratio of two thirds leaf mould to one third grit is ideal.
Replanting your hosta couldn’t be easier. Just give the soil a good soak with about 4 liters of water. For the first four weeks after replanting or transplanting hostas, water with 4 gallons twice weekly.
After that, cover your hosta with either garden compost, additional leaf mold, or well-rotted manure to help it retain water.
Remember that hostas can be moved, divided, or transplanted at any time of the year. As a result, it is preferable to take action as soon as you notice your hosta struggling in clay soil due to waterlogged soil or a soil surface that has been compacted and baked hard.
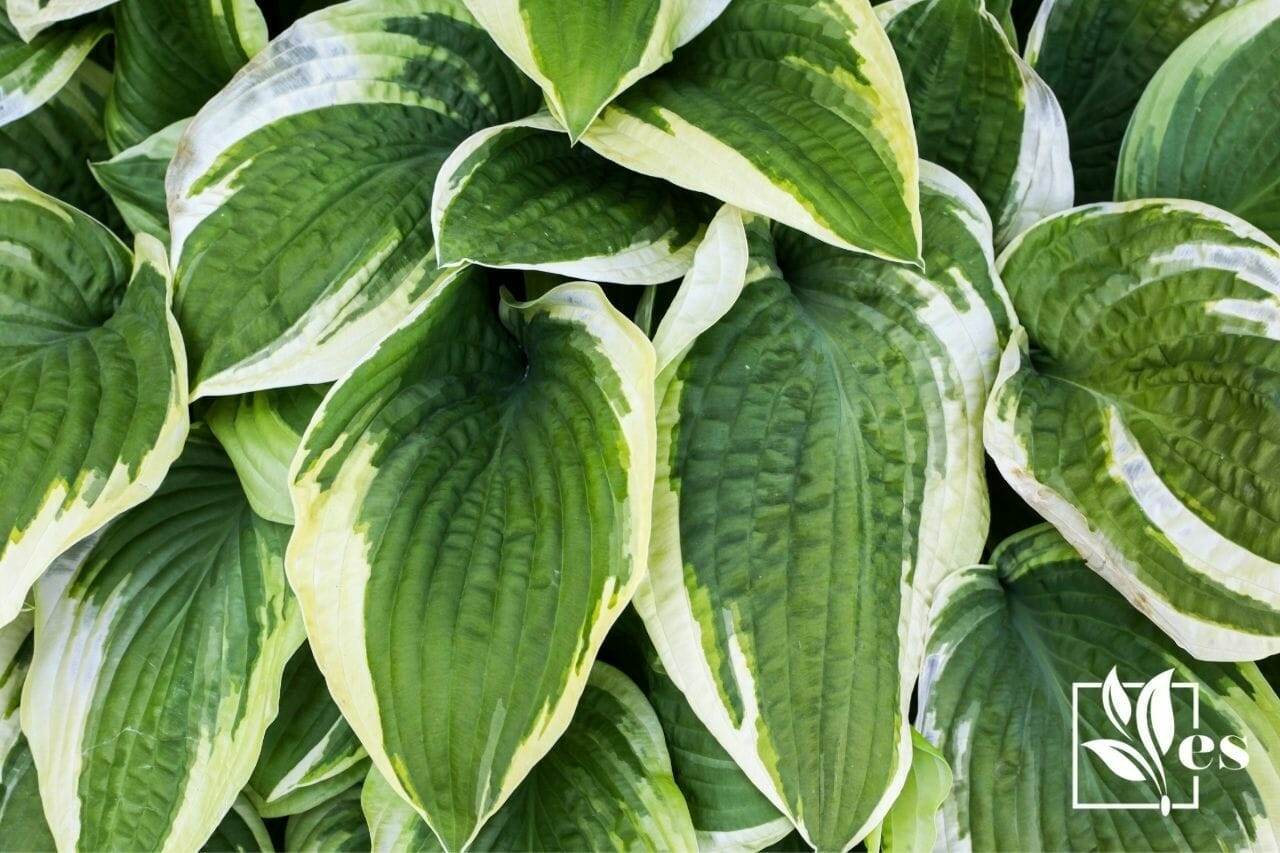
Best Hosta Varieties
for Clay Soils
To put it simply, larger hostas thrive on clay soils compared to smaller hostas. This is due to the fact that smaller hostas frequently struggle to establish their root systems in dense soil.
In order to obtain water, nutrients, and ensure plant stability, bigger hosta types naturally have a more extensive root system and can establish in clay soils more quickly.
This is not to imply that small hostas cannot be planted in clay soil; nevertheless, you will need to add a lot of organic material to the area before planting, and you must diligently add mulch around the hostas twice a season.
The classic giant hosta varieties “blue angle,” “jade cascade,” and “Atlantis” thrive in suitably modified clay soils.
Conclusion
As long as clay soils are appropriately adjusted with organic matter initially, such leaf mold or garden compost, hostas will thrive there. These substances give hosta roots the perfect environment for retaining moisture while allowing extra water to drain away.
Mulching is crucial to maintaining the right soil structure and pH (pH 6-7 is ideal for growing hostas), as clay soils are prone to compaction, which prevents water from penetrating and reaching your hosta’s roots.
However, if you have carefully modified the planting area and maintain a regular schedule of mulching, you will be able to grow any size and variety of hosta you desire. Larger kinds generally perform better in clay soils.
Hostas can be saved from hostas that have been planted in heavy clay soil and are struggling because they are some of the toughest garden plants when it comes to transferring or transplanting. Simply dig out the hosta, transplant it, and then add some organic material. Due to the hosta’s inherent hardiness, you can do this at any time of year.